[ASP.NET Core] Hosting with IONOS
![[ASP.NET Core] Hosting with IONOS](https://images.unsplash.com/photo-1544931170-3ca1337cce88?crop=entropy&cs=tinysrgb&fit=max&fm=jpg&ixid=MnwxMTc3M3wwfDF8c2VhcmNofDF8fG1heHdlbGx8ZW58MHx8fHwxNjMyNjQ3OTUw&ixlib=rb-1.2.1&q=80&w=1460)
Update:
 Georg Höller
This post will guide you from zero to a public accessible ASP.NET Page with IONOS Windows Hosting.
Hosting
Head over to and choose the plan which fits the best for you: ionos.com/hosting/windows-hosting
I will continue with the smallest one because one site is enough for me.
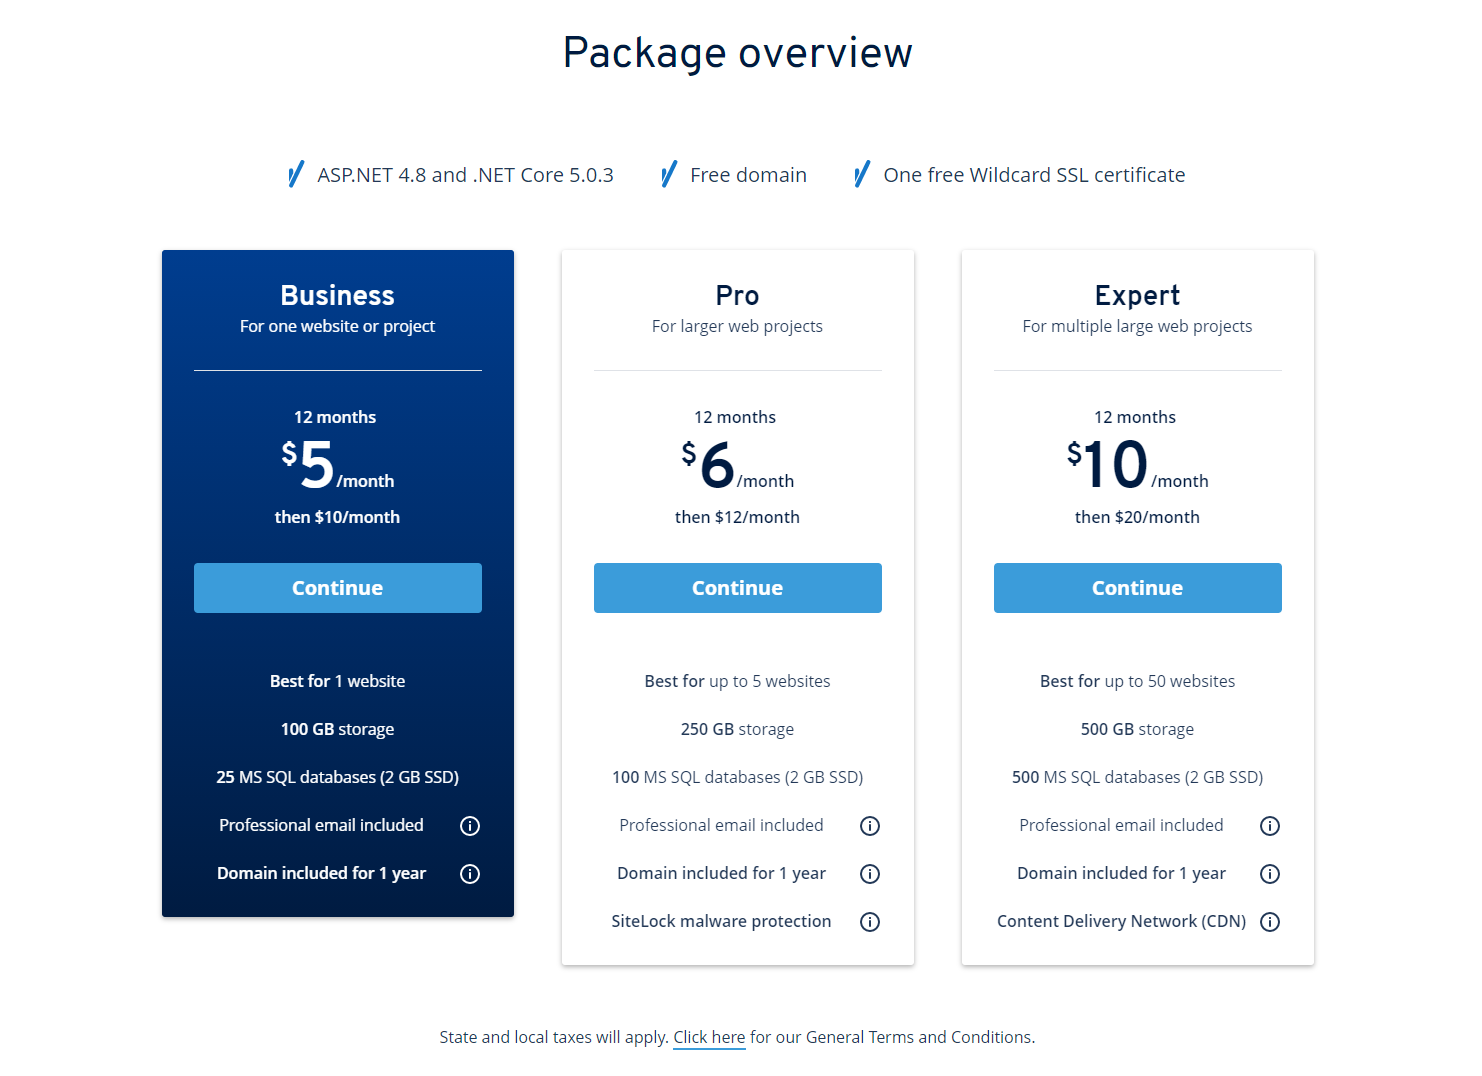
Choose the free domain and continue to the checkout. It will last a few minutes till you can log in to your dashboard. We will use this time to create our Test ASP.NET Core 3.1 Web App.
ASP.NET Project
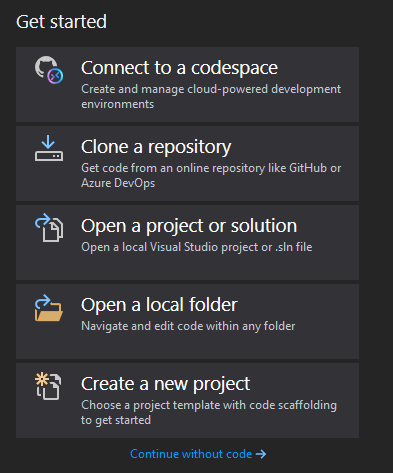
Open Visual Studio 2019 and select "Create a new project"
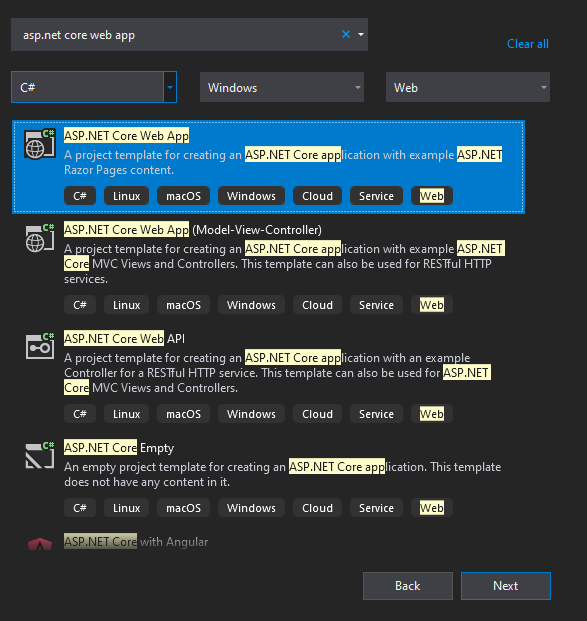
Search for the "ASP.NET Core Web App" Template and hit "Next".
On the next screen, you can give your Project an awesome name!
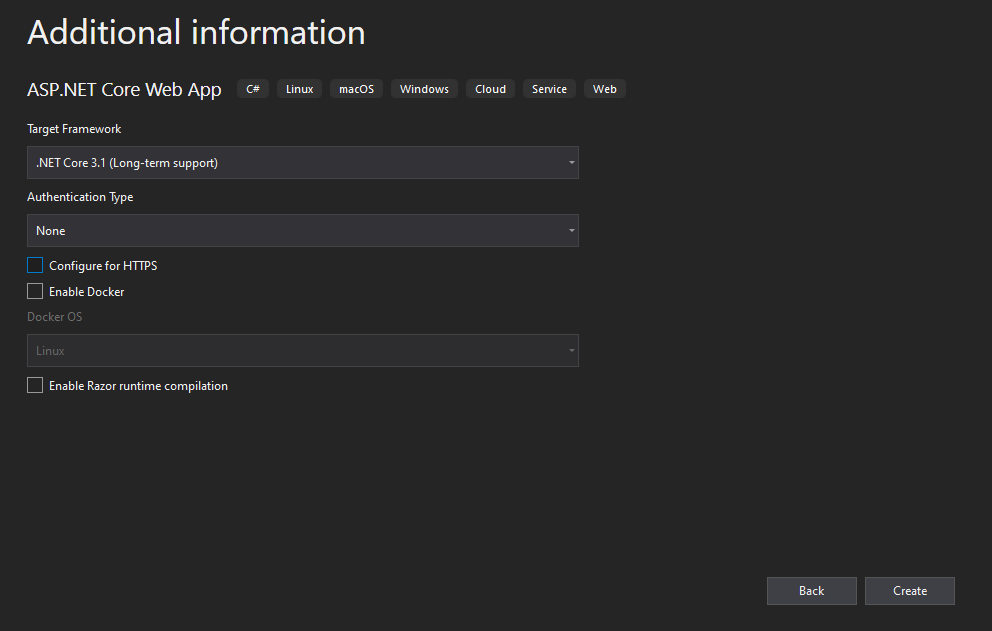
I will continue with the default setting for .NET Core 3.1 and Authentication Type "None" but I disabled HTTPS because I do not use it for testing.
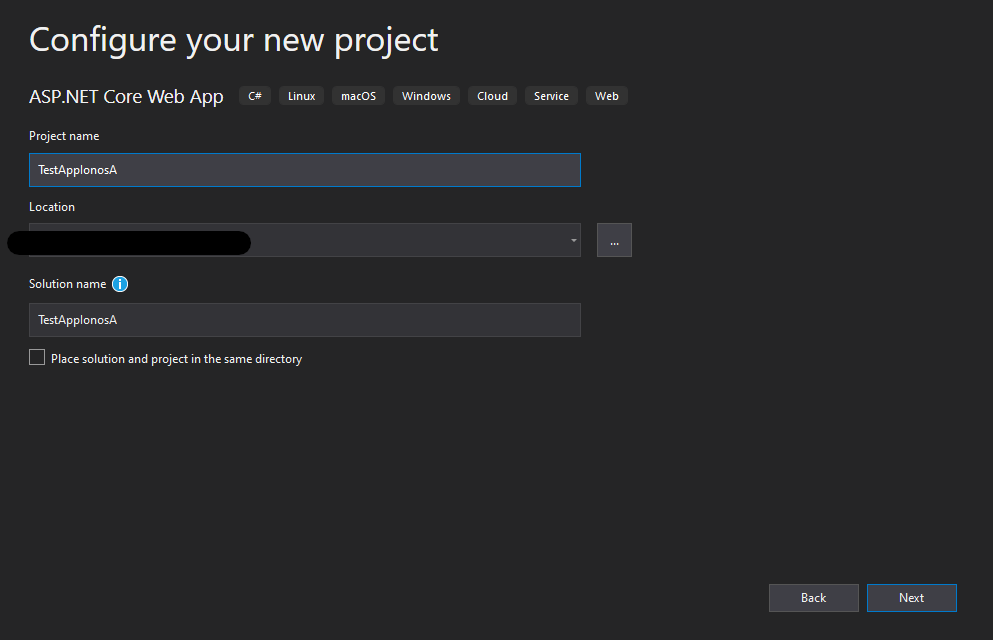
Hit "Create" and let visual studio work for you ;-)
Your solution should look like this:
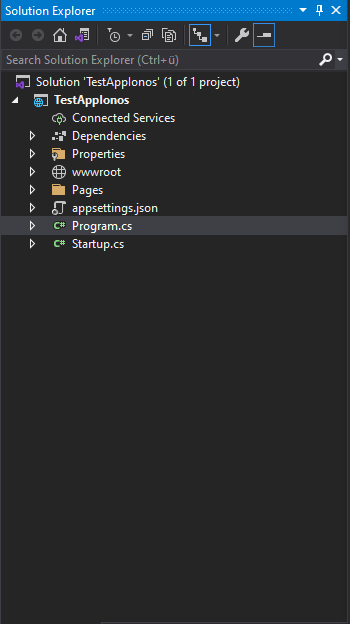
Double click the project file to open the ".csproj" file. Find the following section:
<PropertyGroup>
   <TargetFramework>netcoreapp3.1</TargetFramework>
</PropertyGroup>
Change it to:
<PropertyGroup>
<TargetFramework>netcoreapp3.1</TargetFramework>
<PublishWithAspNetCoreTargetManifest>
false
</PublishWithAspNetCoreTargetManifest>
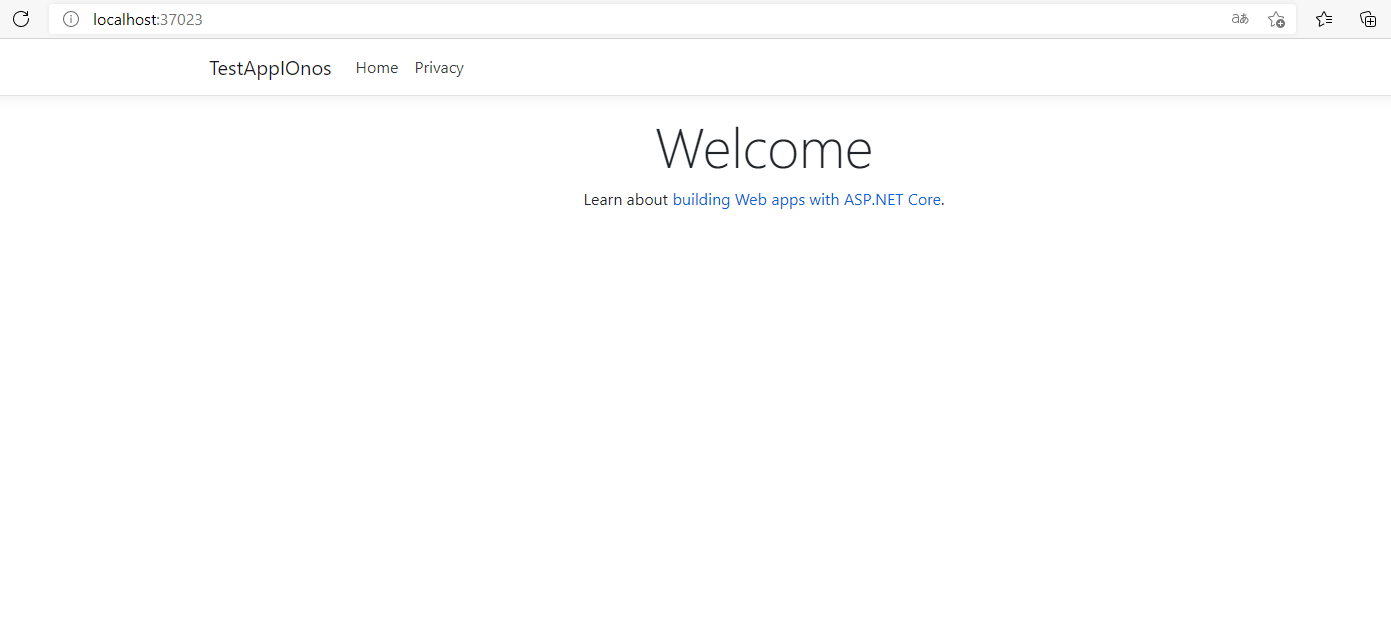
</PropertyGroup>Now hit "F5" to test your ASP.NET Core Website locally - this will look similar to this:
Publish to IONOS
Now your IONOS Dashboard should be ready to use! Navigate to your Hosting Dashboard and create an FTP User.
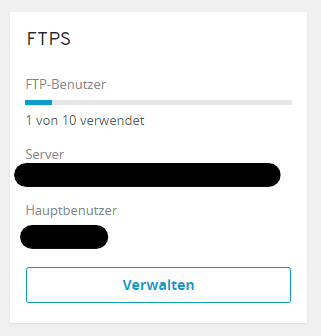
Keep the page open with your FTP connection information and store your password in a safe place. You will need it in the next step!
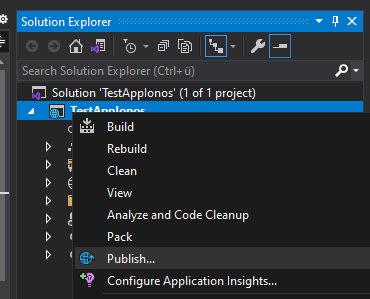
Switch back to Visual Studio 2019 and right-click the project - select publish in the conext menu.
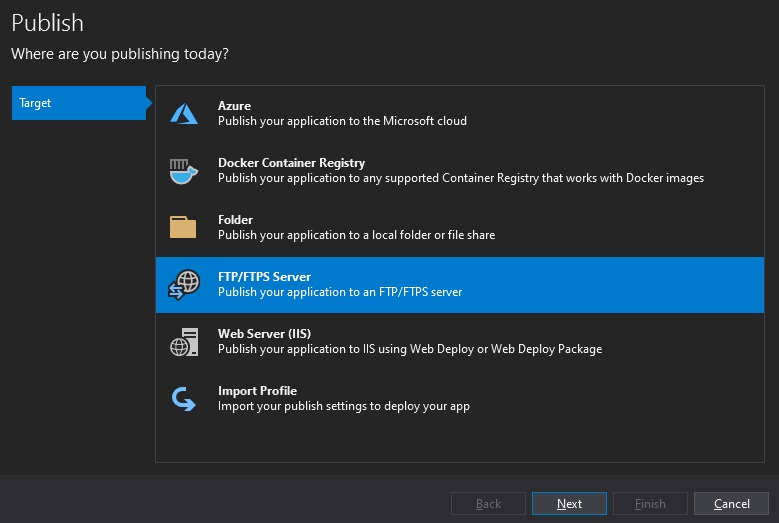
Now add a new PublishProfile for FTP Server.
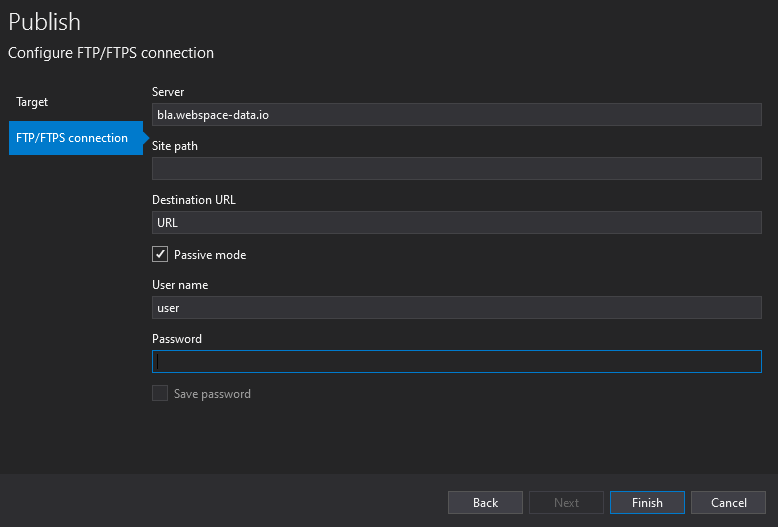
Now you need your FTP information from IONOS.
Server: server address to FTP
Site path: leave empty! (important)
Destination URL: your domain
User: IONOS FTP user
Password: IONOS FTP password
Great! Everything is set up! Hit "Finish" and then "Publish"!
Open a browser and go to your domain. If everything worked, you should see the same page as before in our local test. :-)
The next post will cover how you host an Angular frontend on IONOS!


Georg Hoeller Newsletter
Join the newsletter to receive the latest updates in your inbox.
![[Angular] Routing Helper - a Typesafe Routing Attempt](https://images.unsplash.com/photo-1483213097419-365e22f0f258?crop=entropy&cs=tinysrgb&fit=max&fm=webp&ixid=MnwxMTc3M3wwfDF8c2VhcmNofDF8fHN0cmVldCUyMHNpZ258ZW58MHx8fHwxNjczOTAxNTU1&ixlib=rb-4.0.3&q=80&w=1460)
![[ASP.NET Core 6.0 | Angular] Hosting with Ionos](https://images.unsplash.com/photo-1558494949-ef010cbdcc31?crop=entropy&cs=tinysrgb&fit=max&fm=webp&ixid=MnwxMTc3M3wwfDF8c2VhcmNofDF8fHNlcnZlcnxlbnwwfHx8fDE2NzI4NjY5MTc&ixlib=rb-4.0.3&q=80&w=1460)
